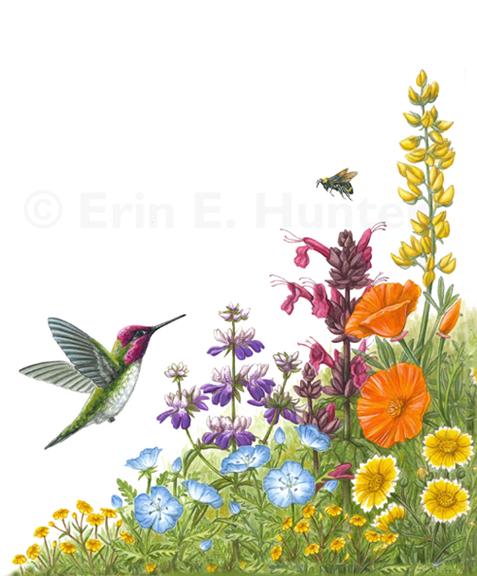
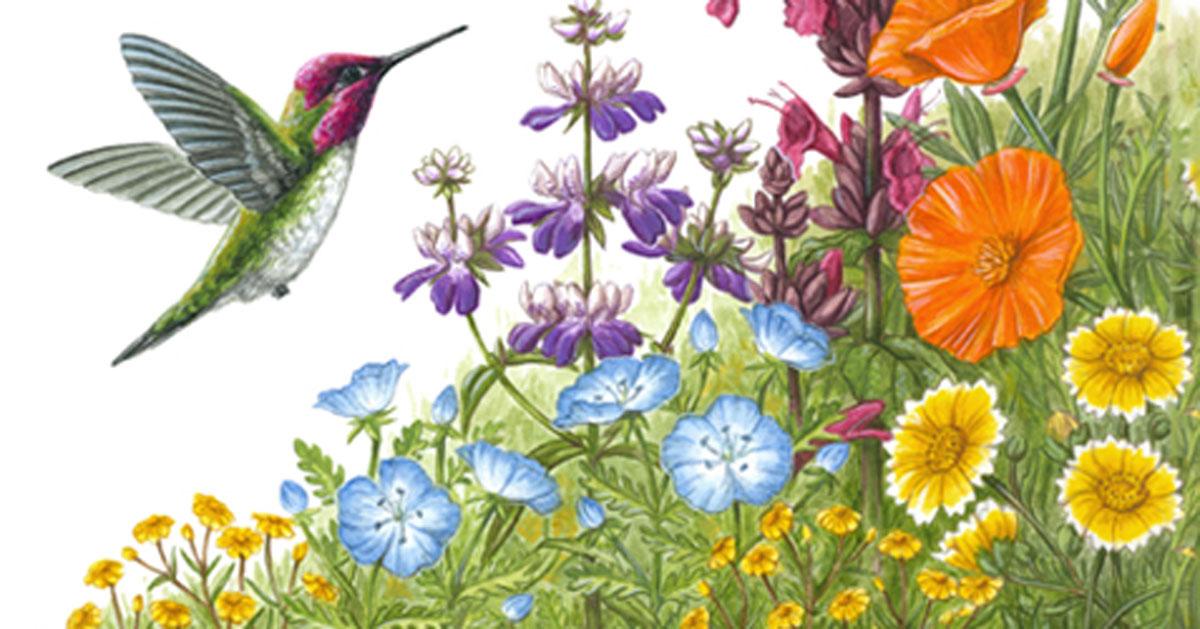
I’ve been working on my Iceland poppies and have updated artwork to post, but before I do, I want to share a little side project that I’ve been working on. A few weeks ago, I began work on a small painting of California wildflowers with a hummingbird and bee; I made sure to document my progress along the way so that I could share it here!
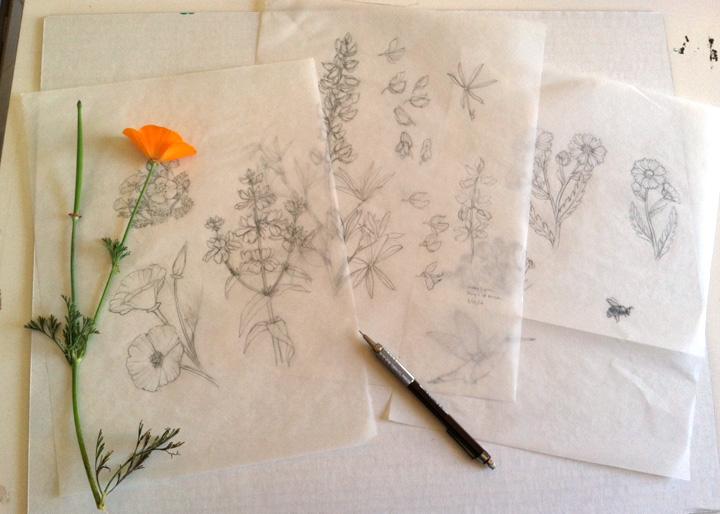
I began this painting with several rough sketches on various sheets of tracing paper (a favorite for early sketches, as it’s cheap and erases well). I like to just sketch each flower on its own before trying to combine it into a layout.
Once I assembled my initial drawings, I scanned them as jpgs and opened them into Photoshop. (If I’m away from my scanner, sometimes I’ll cut up the actual drawings and tape them together on another sheet of paper.) I placed them all in one Photoshop document; this way I could see how the proportions of the plants and how they looked next to each other.
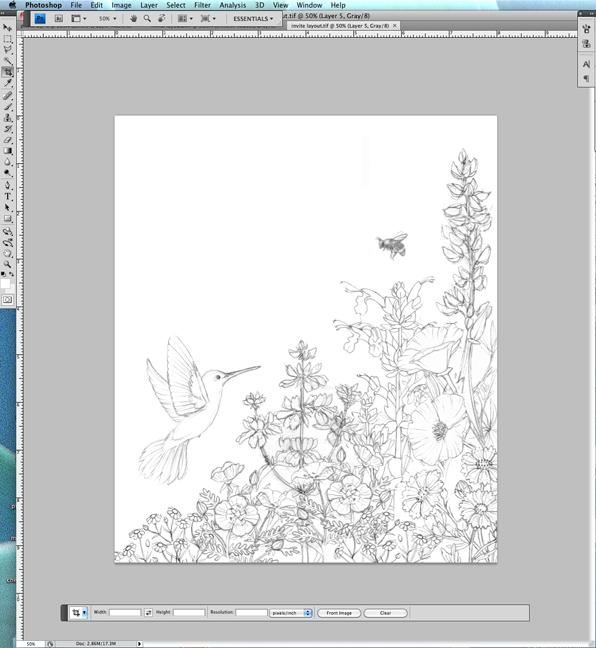
Once I was satisfied with my layout, I created a new, clean tracing of my drawing, which gave me a chance to change little things (like changing the hummingbird’s pose, or smoothing out jagged lines). This was scanned back into Photoshop.

Once in Photoshop, I screened back the whole drawing so that it was quite transparent; I printed this on watercolor paper. The inks in my Epson Stylus C88+ are water-resistant, so I knew I could paint over them, and it saved me the trouble of tracing my drawing again.
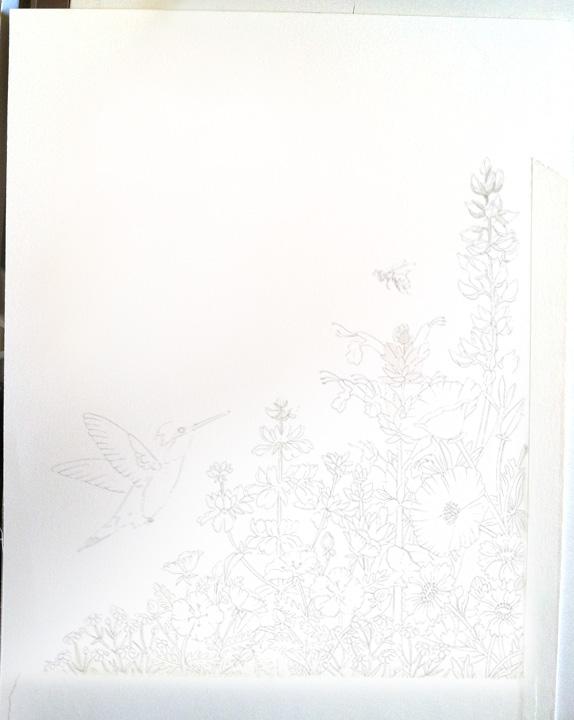
Time to paint! I like to begin by blocking in the basic colors throughout the entire painting. This helps me to see where there are areas that might need to be filled in with color or with more flowers.
With basic color added, I began to add detail. This part is always fun, as I can start to see the painting come to life.
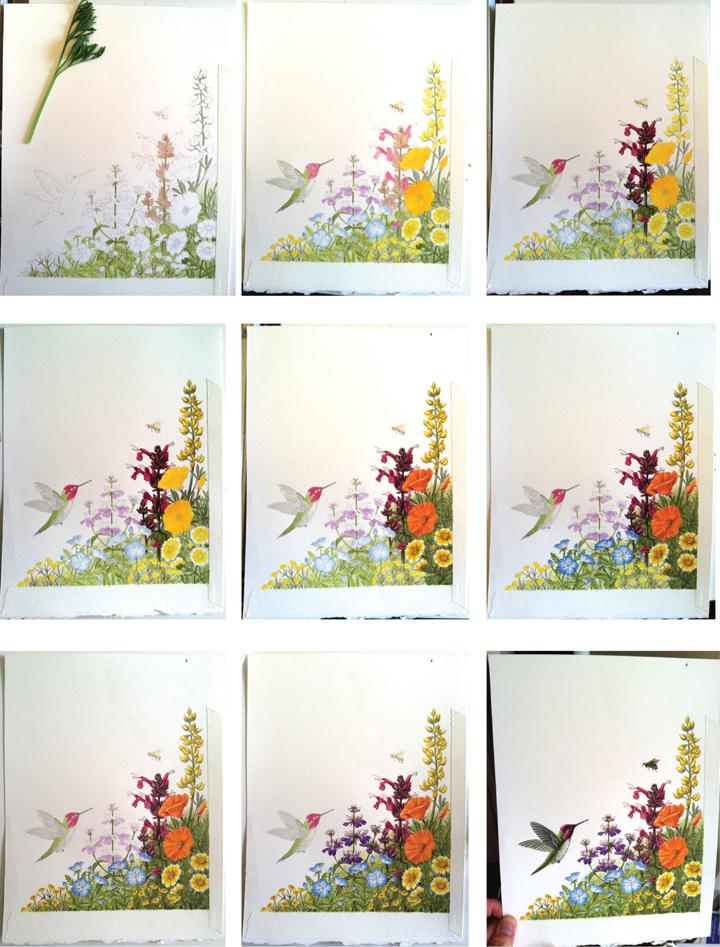
Here’s the finished product!
